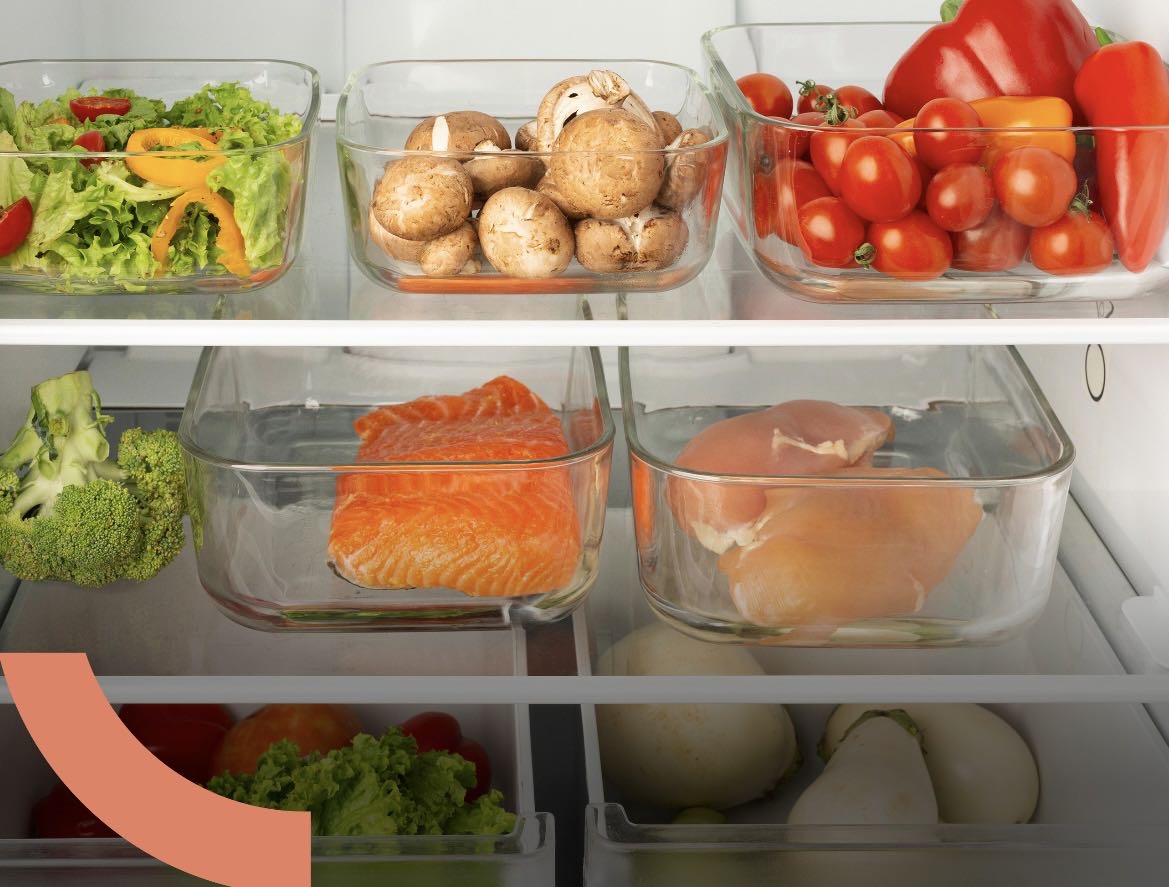
Continuing our 5 part series on spring cleaning your refrigerator and freezer, here is part 4- Refrigerator cleaning continued! Using dish soap and tap water is fine most of the time— (Dawn soap works well) occasionally opting for a deep clean can combat stubborn messes and sanitize more thoroughly. Twice a year (or more if any food in your fridge was recently recalled) follow the steps above, then finish up by cleaning with a more intense disinfectant. Either in a bucket or spray bottle, you can mix a solution of 1 tablespoon bleach to 1 gallon water, then get to wiping with a soft cloth or paper towels. (Heads up: If you are using bleach, be sure to avoid cleaning products with ammonia, as the two create a dangerous chemical reaction when mixed.) For a less abrasive cleaner, try a solution of equal parts water and white vinegar. Deep cleans are a good time to go over other hard-to-reach spots like the rubber gasket around the door seal, where moisture and gunk can accumulate over time. Be sure to wipe down all of the shelf and drawer tracks while you’re at it. To reconstruct your fridge, just work in reverse. Start by replacing the shelves and drawers, making sure they’re completely dry before you slide them into place. Then you can start putting back all of your food. This is the moment to reconsider the layout of your fridge and give yourself a tidy baseline going forward. I recommend keeping a space clear for rising doughs, marinating meats, or other sizable cooking projects. And remember, dairy spoils faster if you keep it in the door. Stay tuned for the final part of this series next week!

Continuing our 5 part series on spring cleaning your refrigerator and freezer, here is part 4- Refrigerator cleaning continued! Using dish soap and tap water is fine most of the time— (Dawn soap works well) occasionally opting for a deep clean can combat stubborn messes and sanitize more thoroughly. Twice a year (or more if any food in your fridge was recently recalled) follow the steps above, then finish up by cleaning with a more intense disinfectant. Either in a bucket or spray bottle, you can mix a solution of 1 tablespoon bleach to 1 gallon water, then get to wiping with a soft cloth or paper towels. (Heads up: If you are using bleach, be sure to avoid cleaning products with ammonia, as the two create a dangerous chemical reaction when mixed.) For a less abrasive cleaner, try a solution of equal parts water and white vinegar. Deep cleans are a good time to go over other hard-to-reach spots like the rubber gasket around the door seal, where moisture and gunk can accumulate over time. Be sure to wipe down all of the shelf and drawer tracks while you’re at it. To reconstruct your fridge, just work in reverse. Start by replacing the shelves and drawers, making sure they’re completely dry before you slide them into place. Then you can start putting back all of your food. This is the moment to reconsider the layout of your fridge and give yourself a tidy baseline going forward. I recommend keeping a space clear for rising doughs, marinating meats, or other sizable cooking projects. And remember, dairy spoils faster if you keep it in the door. Stay tuned for the final part of this series next week!


